Assign user accounts to user groups
You can create as many user accounts as you like, regardless of your license. The use of specific lexiCan user accounts for authorization and rights management requires the authentication method ‘Standard’.
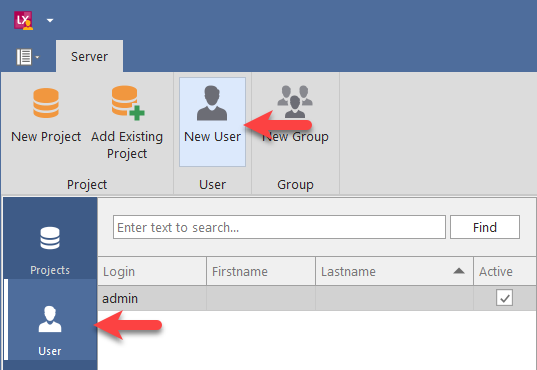
To create a user account, start the administrator and click on ‘New User’ in the top toolbar.
The machine provides you then with an empty input screen.
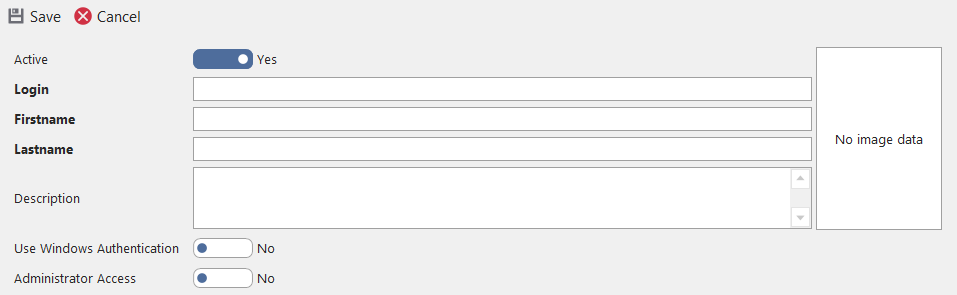
Mandatory fields are highlighted in black. The individual fields are defined as follows:
‘Active’
Here you can activate and deactivate a user account, e.g. a general account for interns.
‘Login’
‘Login’ here means the ID, the login name or the user abbreviation. The ID is used to identify a user when logging in to the system. The specification of a ‘login’ is mandatory.
‘Description’
Both fields are optional and can currently only be used by the system administrator.
‘First name’ and ‘Last name’
These fields require no explanation.
The use of Windows authentication enables the single sign-on function, i.e. a user is automatically logged on to the system via his network account and its connection to his user account in lexiCan and does not have to go through a logon process. This corresponds to the Single Sign-on function when using the Active Directory authentication. After activating the Windows authentication, you must enter the network domain followed by the user's individual network account in the following field, e.g.
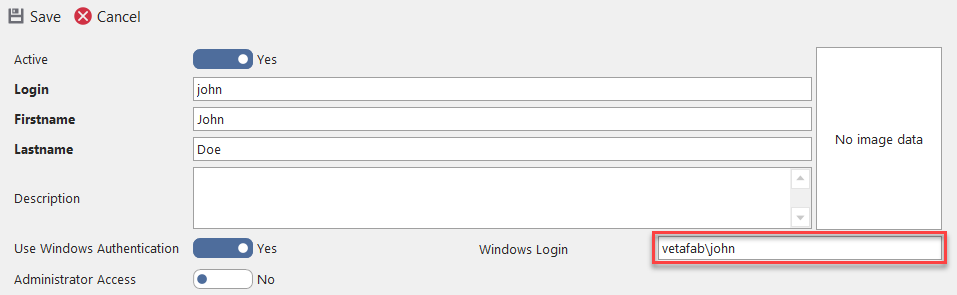
In this context, note that the administrator does not enable automatic login using single sign-on.
‘Is Administrator’
There is the user account ‘admin’ for logging in to the administrator. However, you can also log in with an individual user account if you grant administrative privileges to that user account at this point.
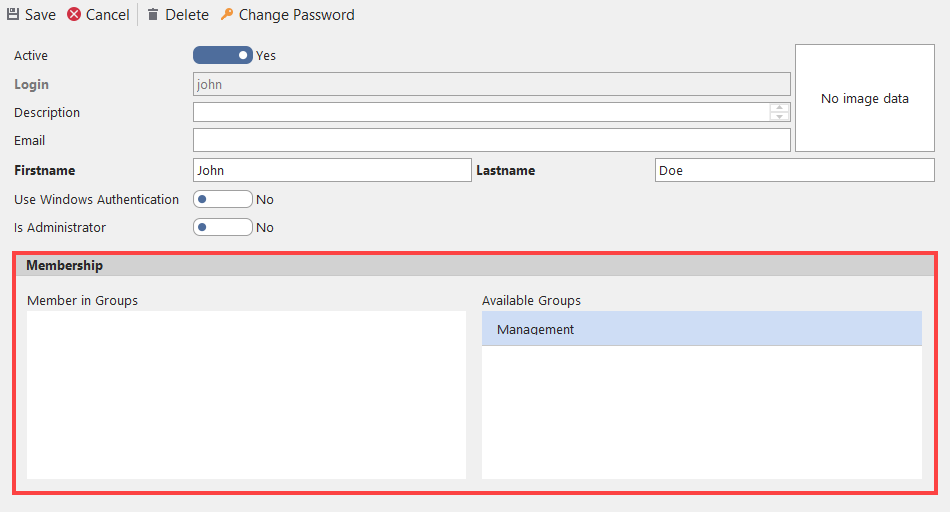
After you have at least filled in all mandatory fields, you can create the user account via ‘Save‘, e.g.

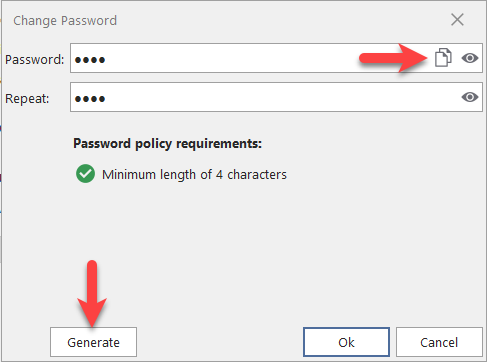
If you have not activated Windows authentication, you will be asked to define a password that meets the requirements. You can define this yourself or have the system generate it (‘Generate‘ button) and copy it to the clipboard.
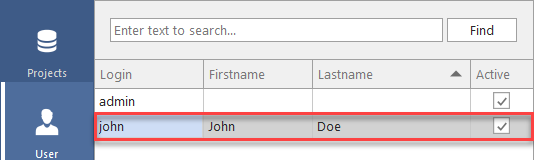
The user account is then listed in the navigation on the left, e.g.
Assign user accounts to user groups
To access a project, you can authorize individual user accounts or entire user groups. You can assign a user account to a user group when you create it. For this purpose use the area ‘Membership’, e.g.
By double-clicking on an available group, the user account is added to the group, e.g.
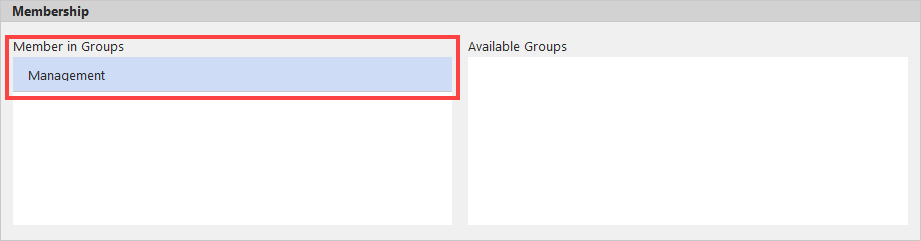
You can cancel the membership of an account in the same way.